Choosing and cropping images for small patterns
Compare a wide crop with a closer crop, then prepare an image for a small grid.
Start with a recognizable silhouette
Choose a picture with one clear subject and enough contrast between its important parts. At a small grid size, each cell must stand in for a patch of the image. Fine whiskers, tiny lettering and busy backgrounds may disappear or compete with the subject.
Use the original cat illustration below to look for the features you want to preserve: ear shape, eyes and the boundary between orange and white fur. This illustration is a digital example, not evidence of photo-conversion quality.

Spend the grid on the subject
Import a JPEG, PNG or static WebP in the studio. Adjust the crop and its position; rotate by 90° if needed. Keep the same grid width while trying a wide and a closer crop, so you can see what changing the composition does.
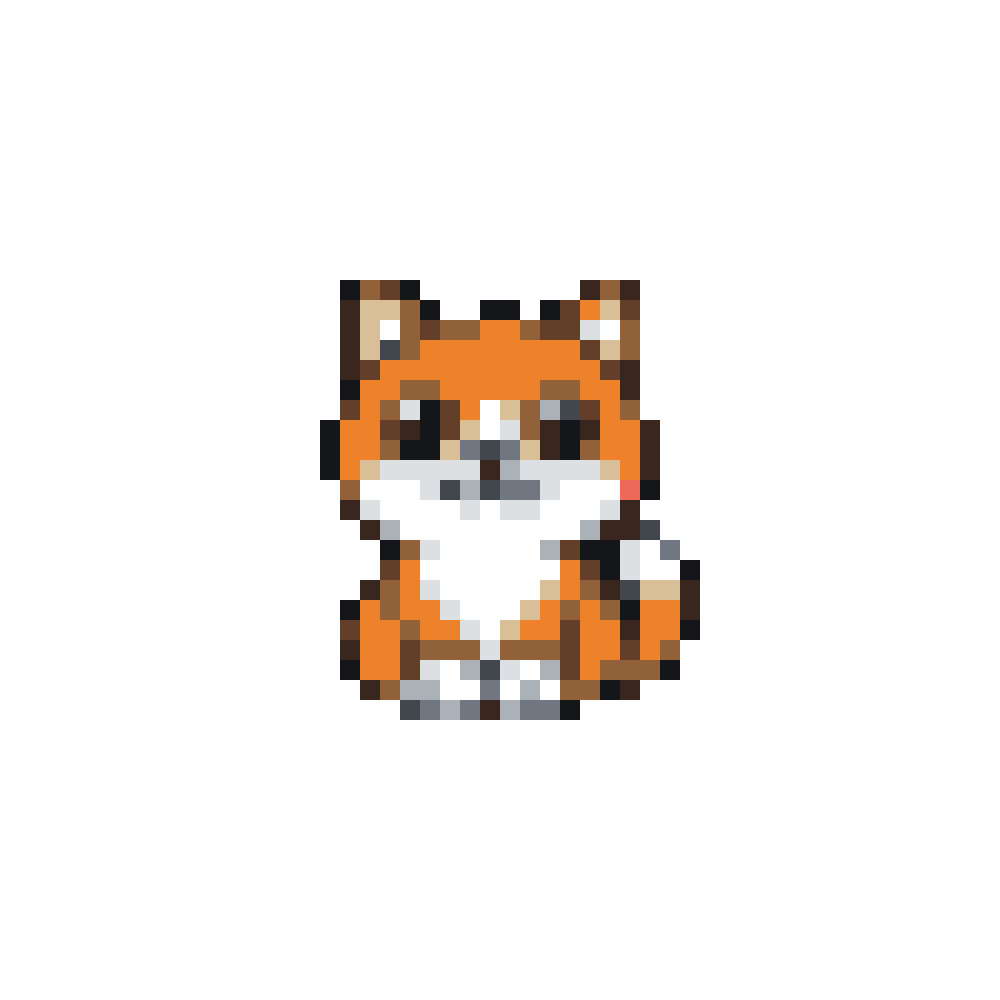

A tighter crop is useful only when it keeps the parts you need. Check the entire outline before concentrating on an eye or another tiny detail.
Generate, then inspect the important parts
Generate a pattern and compare the available schemes. Zoom in on the eyes and outline, then return to the full view to check recognition. Changing crop settings does not update the applied pattern until you generate again.
White is a material color. Empty cells contain no material. A white background in the original image is not automatically empty; inspect it before removing anything.
Try two crops at the same width and color limit. Decide which one keeps the features that matter to you.
Try it in the cross-stitch studio